I have addressed the topic of triggered notifications a couple of times on this blog previously. I’ve taken the opportunity to apply the technique to a current use case – the ability to get notifications whenever the confirmed count of COVID-19 cases changes in my county or surrounding ones.
Using the “f=geojson” parameter, it is possible to download the data in a format (GeoJSON) that is readily consumable by OGR. As a result, I was able to initiate a core workflow using the following steps.
1. Do an initial data pull
Using OGR, I did an initial pull to create the primary table in my PostgreSQL database. This will be the table that gets watched for changes. That was done with the following command-line statement.
This file contains hidden or bidirectional Unicode text that may be interpreted or compiled differently than what appears below. To review, open the file in an editor that reveals hidden Unicode characters.
Learn more about bidirectional Unicode characters
You’ll need to replace $host, $user, $database, and $pw with your hostname, username, database name, and password respectively to load your data into PostgreSQL/PostGIS.
2. Add a “watched” boolean column
Next, in PostgreSQL, I added a boolean column to the table so that I could flag which counties I wanted to track.
This file contains hidden or bidirectional Unicode text that may be interpreted or compiled differently than what appears below. To review, open the file in an editor that reveals hidden Unicode characters.
Learn more about bidirectional Unicode characters
The value for all records defaults to false, so I needed to toggle the counties I wanted to watch to true. In my case, those were three counties in Southern Maryland.
3. Create a trigger function
In many database platforms, the trigger object is a function/procedure that is executed directly on the specified event. In PostgreSQL, the trigger and its function are separate objects. So, first, I had to create the trigger function.
This file contains hidden or bidirectional Unicode text that may be interpreted or compiled differently than what appears below. To review, open the file in an editor that reveals hidden Unicode characters.
Learn more about bidirectional Unicode characters
This does nothing more than roll up the event data into a simple GeoJSON feature and broadcast it using pg_notify onto a channel called ‘jhucounty’. Discussed here, NOTIFY/LISTEN is a pub/sub architecture that’s built into PostgreSQL that enables external systems to be notified of events inside the database in a safe manner that shouldn’t block the database or create performance issues. (YMMV)
4. Create the trigger
This simply attaches a trigger to the table. Notice that the WHEN clause ensures the trigger function fires only if the updated record is watched, using the column added in step 2.
This file contains hidden or bidirectional Unicode text that may be interpreted or compiled differently than what appears below. To review, open the file in an editor that reveals hidden Unicode characters.
Learn more about bidirectional Unicode characters
This step is a little trickier than it may appear. In the JHU feature service, each update touches every record, even if there is no update. The value of the “Last_Update” element is always the same for each record. This means there is no reliable way to use OGR to filter the data on import, so I have to download the full data set each time.
The approach I took was to download the data with OGR into a temporary table, then use a SQL JOIN to update the records in the primary table which had updated data. This was most effective done using a bash script.
This file contains hidden or bidirectional Unicode text that may be interpreted or compiled differently than what appears below. To review, open the file in an editor that reveals hidden Unicode characters.
Learn more about bidirectional Unicode characters
psql -d $database -h $host -U $user -c "UPDATE jhu_county a SET last_update = b.last_update, confirmed = b.confirmed FROM jhu_county_current b WHERE a.combined_key = b.combined_key AND a.confirmed <> b.confirmed;"
The database, username, hostname, and password are all passed into the script as arguments, in that order.
6. Listen and do something.
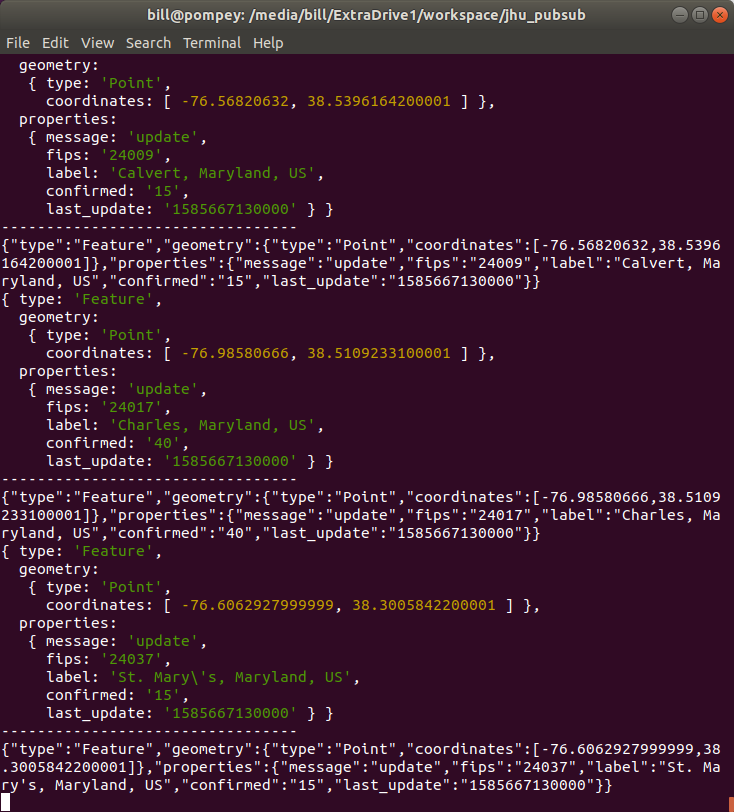
I wrote a simple Node app to listen to the ‘jhucounty’ channel and lateral the data to someplace else. In order to keep it simple for this post, it just dumps it to the console.
This file contains hidden or bidirectional Unicode text that may be interpreted or compiled differently than what appears below. To review, open the file in an editor that reveals hidden Unicode characters.
Learn more about bidirectional Unicode characters
Most of the remaining work is setting up the node app to do something more intelligent with the output. I plan to update it to send an email and, possibly, a text message, so that I can get the updates as they happen (or nearly).
I’ll also set up the bash script in a cron job, so that it will run periodically. When I do that, I will most likely move all of the database parameters to environment variables.
I’ll update as I make these changes.
UPDATE:
I made two updates to automate this process on a schedule. I’ll pick up the numbering scheme above.
7. Send an email
I updated the node script above to use the “nodemailer” library to send an email about updates. I used GMail to send the updates. If you choose to do this, you’ll need to configure the GMail account to allow SMTP connections.
This file contains hidden or bidirectional Unicode text that may be interpreted or compiled differently than what appears below. To review, open the file in an editor that reveals hidden Unicode characters.
Learn more about bidirectional Unicode characters
var pubsubInstance = new PGPubsub('postgres://password:user@host:port/database'); // don't hard code this in real life. get it from a config or environment variable
var transporter = nodemailer.createTransport({
service: 'gmail',
auth: {
user: "email@gmail.com", // don't hard code this in real life. get it from a config or environment variable
pass: "complex_gmail_password" // don't hard code this in real life. get it from a config or environment variable
}
});
pubsubInstance.addChannel('jhucounty', function (channelPayload) {
var msg = channelPayload.properties.label + ": " + channelPayload.properties.confirmed;
var mailOptions = {
from: "email@gmail.com", // don't hard code this in real life. get it from a config or environment variable
to: 'recipient@some.tld', // don't hard code this in real life. get it from a config or environment variable
subject: 'COVID-19 update for ' + channelPayload.properties.label,
I use Linux, so this step is specific to that. If you use Windows, you’ll need to set something up via the task Scheduler. I haven’t used Windows full-time in almost three years, so I won’t attempt to show that process here. This step uses the bash script shown in Step 5 above.
Open a terminal window and type:
crontab -e
This will allow me add a line to crontab to run the script. Because I didn’t use “sudo,” the cron job will run under my identity, rather than root. Add the following line and save.
If you’re not familiar with crontab syntax, that runs the script every 15 minutes. You can see that this example passes in the database parameters as arguments. It’s probably best to move those to environment variables or some other method that doesn’t require hardcoding in crontab.
Conclusion
The process describes above was initiated to watch changes to COVID-19 data, but it is really applicable to any data that changes frequently. I hope you find this approach useful.